A Simple Step-by-Step Contour Makeup Routine
Contouring doesn’t have to be complicated. With a few reliable products, the right tools, and a clear routine, you can add natural shape and dimension to your face in minutes.
This guide walks you through a streamlined, repeatable contour routine—product choices, mapping, application steps, blending tips, and storage so your kit stays travel-ready and organized.
Prep your skin
Start with clean, moisturized skin. A hydrating base smooths texture and prevents cream or powder products from clinging to dry patches. Apply a lightweight moisturizer, then a thin layer of primer focused where products will sit longest (T-zone, under eyes, cheeks).
For a reliable base option, browse Hydrating Face Primers to find a formula that suits your skin type and keeps contour lines blendable.
Choose the right contour products
Decide whether you prefer creams, sticks, or powders. Sticks are quick and portable; cream palettes are blendable and buildable; powder palettes set well and work great over foundation. Beginners often benefit from formulas that are forgiving and easy to blend.
If you want a fast, fuss-free option, consider Easy Blend Contour Sticks—they’re formulated for quick placement and smooth blending.
Tools that make blending easy
The right tools save time and improve finish. A dense flat-top brush or a duo-fiber buffing brush works well for creams and sticks; a soft angled brush is ideal for powder contour; a small tapered brush serves for nose and detail work. Sponges are excellent for sheering out cream products to a natural finish.
For starter kits that include the essential brushes, check Beginner Contour Brush Sets to build a compact, efficient toolkit.
Where to contour and where to highlight
Map your face before applying product. General placement guidelines:
- Cheekbones: contour in the hollow beneath the cheekbone, from roughly the ear toward the mouth but stop halfway.
- Jawline: contour along the jaw to define and reduce appearance of fullness.
- Temples/forehead: contour near the hairline to balance a wide forehead.
- Nose: use a thin line along the sides for slimming, and a small highlight down the bridge.
- Under-eye and center of face: highlight with lighter product where light naturally hits.
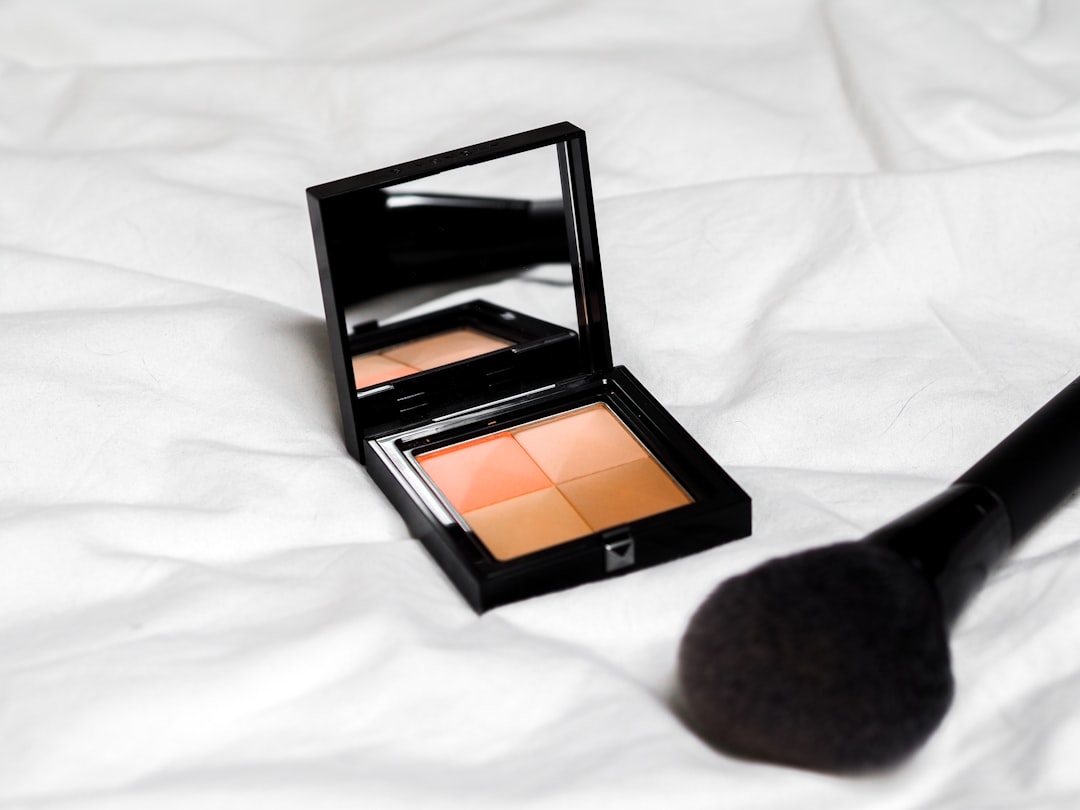
If you prefer a powder approach for precise mapping and buildable coverage, explore Powder Contour Palettes for matched shades and sculpting options.
Step-by-step application routine
Follow these steps for a consistent result:
- Apply foundation/tinted moisturizer lightly for even tone.
- Sketch contour: using your chosen medium, draw thin lines where you mapped the hollows, jawline, and temples.
- Place highlight: add small touches of highlight to cheek tops, center forehead, brow bone, nose bridge, and cupid’s bow.
- Blend: soften all edges with your brush or sponge using outward and upward strokes. Less pressure, more small motions.
- Set: lightly dust translucent powder where you want matte finish and set cream products with a matching powder if needed.
Beginner-friendly kits that pair contour and highlight products make following these steps straightforward—see available options under Contour and Highlight Starter Sets.
Highlighting: placement, products and finish
Highlight should read natural—not glittery—so opt for finishes that suit your skin type. Cream and liquid highlighters give dewy luminosity; powder highlighters are easier to control and last longer on oily skin. Apply sparingly: a little goes a long way.
For stick convenience and precise placement, check Highlighter Sticks—they’re travel-friendly and quick to blend with a fingertip or small brush.
Blending techniques and common mistakes
Blend until the contour looks like a subtle shadow—not a stripe. Common errors:
- Applying too dark a shade: choose a contour 1–2 shades darker than your natural skin tone.
- Poor blending: use small circular or stippling motions rather than long dragging strokes.
- Ignoring lighting: check your work in natural light when possible.
If you need more control during blending, go back with a damp sponge to soften edges or a clean brush to buff powders. Always step back and assess at normal distance; makeup that looks perfect close-up can read harsh from a few feet away.
Pack, store and organize your contour kit
Keeping products and tools organized protects formulas and speeds up your routine. Use a small case for daily essentials and a larger organizer for your full stash. Storing brushes upright helps them keep shape and makes selection faster.
Choose a durable option for travel from Travel Makeup Cases and tidy your vanity with Makeup Brush Organizers so your most-used brushes are always at hand.
Small checklist before you leave the house
- Are edges blended? (No harsh lines.)
- Is the highlight natural and not glittery?
- Is the jawline and neck blended to avoid a line of demarcation?
- Do a quick one-minute check in natural light if possible.
- Pack a small brush or sponge in your bag for touch-ups.
FAQ
Q: How dark should my contour shade be?
A: For a natural look choose a shade 1–2 shades darker than your skin tone. Build gradually—you can always deepen, but you can’t remove quickly without removing foundation.
Q: Should I contour before or after foundation?
A: Either works depending on your products. Creams/sticks often apply well directly on top of a thin layer of foundation; powders are easiest over set foundation. The key is to blend both into each other.
Q: What’s best for oily skin—cream or powder?
A: Powder formulas typically last longer on oily skin. If you use cream, set lightly with matching powder to control shine and prevent slipping.
Q: How do I contour a round face?
A: Focus contour along the temples, below cheekbones angled slightly upward toward the ear, and along the jawline to add length and definition.
Q: Can beginners use palettes or are sticks easier?
A: Sticks offer speed and precise placement for beginners; palettes give more shade options and control. Starter sets combine both approaches for learning.
Conclusion — a practical takeaway
Keep the routine simple: prime, map, apply thin lines, then blend. Start light, build slowly, and use a small, consistent kit that you store sensibly. With practice and the right few products, a polished contour becomes a quick, reliable part of your daily makeup.