How to Create a Soft Everyday Contour Look
Soft, natural-looking contouring enhances your features without looking heavy or obvious. With the right products and a few simple techniques, you can define cheekbones, slim the nose, and add subtle warmth to your face in under ten minutes.
This guide breaks down the tools, step-by-step application, blending tips, and finishing touches to help you build a repeatable everyday routine you can trust.
Tools and products to keep on hand
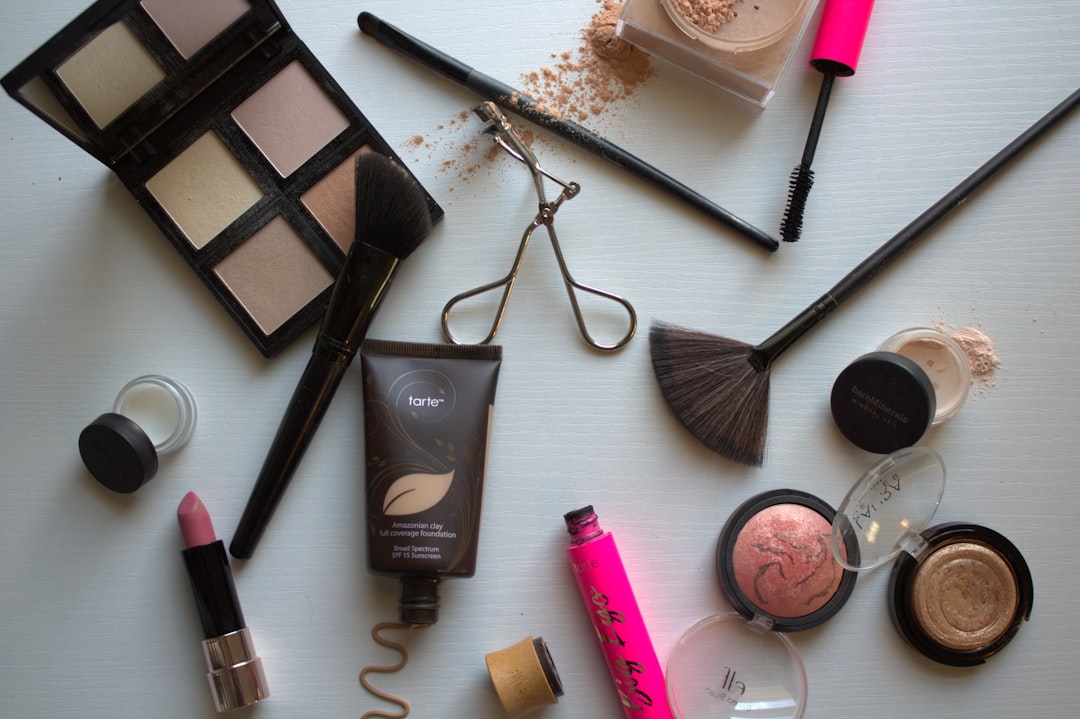
Start with a minimal kit: one contour product (cream or stick), a light highlighter, a multitask brush or small sponge, and a clean fluff brush for blending. For those beginning or refining technique, a curated brush set reduces guesswork—consider a starter option like Beginner Contour Brush Sets to ensure you have the right shapes and sizes.
Keep brushes accessible and protected—organized tools stay cleaner and work better. A dedicated holder helps keep shapes separated and extends brush life; check out compact solutions such as Makeup Brush Organizers for a tidy vanity.
Prep your skin
Soft contouring reads best on hydrated, even skin. Cleanse, moisturize, and use a light primer or tinted moisturizer for smooth texture and evening. If your skin tends to drink up makeup, a fine hydrating mist right before and after application helps products sit naturally and prevents patchiness—explore gentle mists in the Hydrating Setting Sprays category for dewy, comfortable finishes.
Choose the right shades and formulas
For a soft everyday contour, pick a shade 1–2 tones deeper than your natural skin and opt for cooler or neutral undertones to mimic natural shadows. Beginners often find palettes easier to use because they include coordinating shades; if you prefer a guided selection, look at Contour Palettes for Beginners to simplify shade-matching and layering.
Application steps for a subtle, sculpted finish
Work in thin layers. It’s easier to build depth than to remove excess. For everyday wear, follow this efficient sequence:
- Map the shadow: Lightly sketch where natural shadows fall—under cheekbones, the temples, jawline, and along the sides of the nose.
- Target small areas: Apply product sparingly; you want a hint of depth, not a stripe. Sticks and creams are ideal for this controlled application—try options like Easy Blend Contour Sticks for a user-friendly, buildable finish.
- Soften and diffuse: Use a damp sponge or a dense synthetic brush to press product into the skin, then buff outwards with a fluff brush. For a creamier glide that’s easy to work with, Cream Contour Sticks offer a smooth, blendable texture that’s forgiving for beginners.
Blending techniques that keep the look natural
Blending is the defining step for soft contour. Use small circular motions and a light hand—focus on diffusing edges rather than removing product. For cheekbones, blend upward toward the temple; for the jawline, blend down to avoid a harsh line. Always step back and check in natural light, making tiny adjustments until shadows look seamless.
Add a natural glow
After contouring, a touch of highlighter lifts and mimics healthy skin. Keep it subtle: a thin swipe on the high point of the cheekbones, the bridge of the nose, and the inner corners of the eyes. Choose a formula that complements your finish—creamy or stick highlighters layer nicely over cream contour without looking patchy. Consider a soft, low-shimmer option such as Highlighter Sticks for targeted, natural luminosity.
Organize, pack, and simplify for daily use
Make the routine repeatable by keeping your essentials together. A small travel kit or drawer set with your contour stick, brush, and highlighter saves time and ensures consistency. For compact convenience, beginner kits bundle compatible products so you don’t overpack—see curated selections like Beginner Contour Kits that simplify choices and are travel-friendly.
Quick checklist
- Clean, moisturized skin
- One cream or stick contour, shade 1–2 tones deeper
- Small blending brush or damp sponge
- Subtle highlighter for selective glow
- Light mist to set or refresh
FAQ
Q: How much product should I use the first time?
A: Start with a small dot or thin line—less is more. You can always add another thin layer if needed.
Q: Stick or cream—what’s better for beginners?
A: Sticks are the easiest for controlled placement; creams are forgiving and blend smoothly. Choose what feels easiest to handle.
Q: Can I contour every day without clogging pores?
A: Yes—use non-comedogenic formulas, remove makeup thoroughly each night, and clean brushes regularly to maintain skin health.
Q: How do I avoid a patchy finish?
A: Proper skin prep, using a damp sponge or dense brush to press product into the skin, and blending in small, circular motions will prevent patchiness.
Q: Is powder contour better for oily skin?
A: Powders can be good for oilier complexions because they absorb shine. However, creams and sticks can work too if set with a light powder or mist.
Conclusion
Soft everyday contouring is about subtlety and consistency: choose easy-to-blend formulas, work in thin layers, and prioritize blending. Keep a compact kit and a simple routine you can repeat—small, deliberate steps create a natural, polished result that enhances your features without extra fuss.