How to Use a Makeup Sponge for Cream Contour
Cream contour is one of the fastest ways to sculpt the face while keeping skin dewy and natural-looking. A makeup sponge gives you control over placement and blending, creating a soft, seamless finish that brushes can sometimes miss.
This guide walks you through choosing products, prepping skin, applying and blending with a sponge, and finishing for long wear. Follow these steps to get crisp cheekbones, a defined jawline, and a natural nose contour without harsh edges.
1. Prep your skin: clean, hydrated, and primed
Start with a clean, moisturized face. Lightweight moisturizers and primers create a smooth base so cream products don’t cling to dry patches. If your skin benefits from a light mist before makeup, use a conditioning spray sparingly to avoid moving foundation later.
2. Choose the right cream contour product
Select a cream contour formula that suits your coverage and finish goals. For precise lines and easy placement, sticks are beginner-friendly; for multi-shade layering and travel-friendly palettes, pick something compact and blendable.
Explore product types depending on the finish you want—sticks for targeted application or palettes for custom mixing with highlight shades like those in a Cream Contour Sticks.
3. Tools: choose the right sponge and supporting brushes
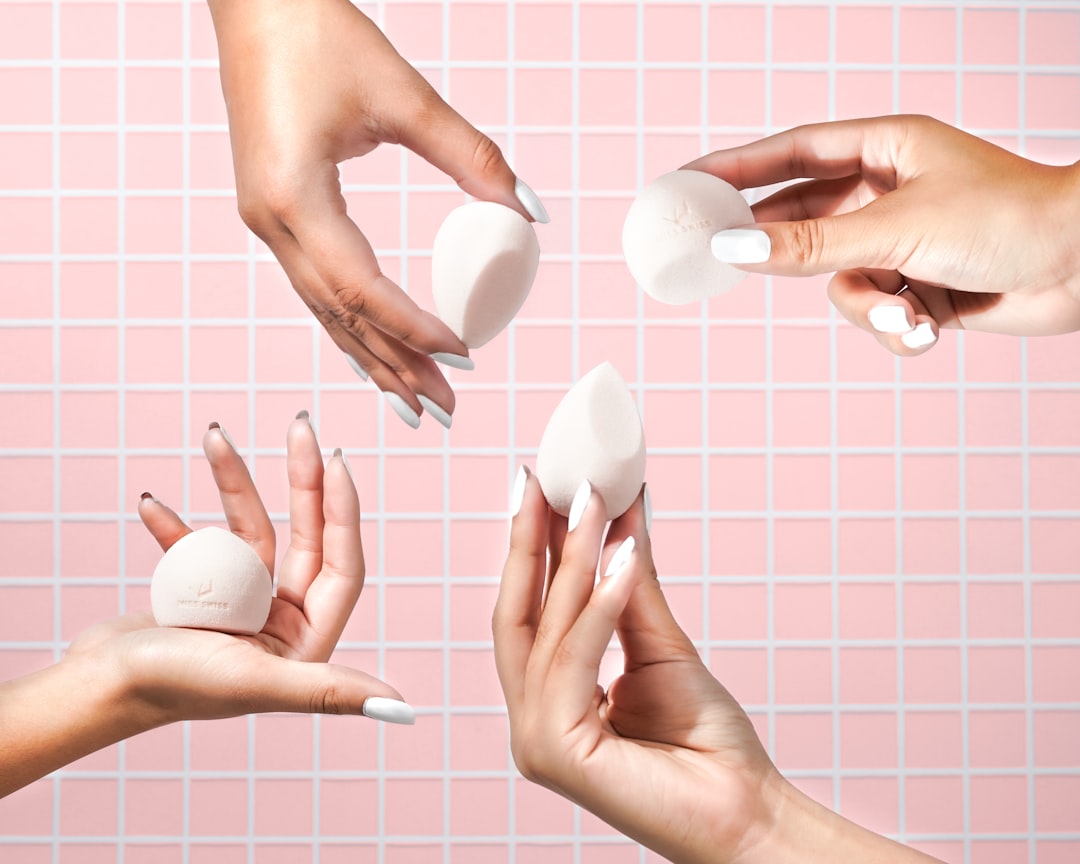
Not all sponges are identical: teardrop shapes are ideal for general blending, a flat edge helps press product under the eyes and along cheek hollows, and a pointed tip is perfect for the sides of the nose. Dampening your sponge slightly will give a more natural, sheer finish; using it dry gives fuller coverage.
If you prefer a hybrid approach—precise application with a small brush, then softening with a sponge—consider pairing your sponge with a starter brush collection designed for contour work. A well-chosen set like a Beginner Contour Brush Sets can speed up learning and improve results.
4. Application: placement and product-to-sponge ratios
Less is more. Apply cream contour sparingly to the natural shadow areas: beneath cheekbones (from ear toward the mouth but stopping mid-cheek), along the jawline, sides of the nose, and at the hairline if you want a forehead contour. Use thin lines or dots rather than thick stripes to make blending easier.
For beginners, a kit that includes guided shades can simplify shade selection—especially useful when matching undertones or testing intensity, as with a Beginner Contour Kits.
5. Blending techniques with a makeup sponge
Master three core sponge moves:
- Press and bounce: Use the rounded side to gently press and bounce over cream contour edges. This diffuses the product into skin without streaks.
- Stipple and roll: For cream sticks applied in lines, stipple (tap) first, then roll the sponge outward to soften the edge toward the cheek center.
- Pointed precision: Use the sponge’s tip to blend along the nose and around the hairline, keeping lines soft but defined.
Start blending from the closest product edge outward—do not drag the sponge back and forth aggressively. If the contour looks too heavy after blending, dab a damp sponge over the area to sheer it out further; if it fades too much, layer a very small amount and re-blend.
6. Add highlight and transition shades
After contour is blended, add cream highlighter or a lighter concealer to the high points: tops of cheekbones, bridge of the nose, cupid’s bow, and center forehead. Cream highlighters melt into cream contour beautifully when blended with the same sponge.
For a natural, creamy finish use a cream formula such as the those in the Cream Face Highlighters. Use the sponge tip to place and the rounded side to diffuse.
7. Set and lock for wear
To keep cream contour lasting through the day, lightly set oily-prone areas with a finely milled powder and finish with a mist. A hydrating finish spray helps meld powders and creams together and prevents the skin from looking chalky, while also ensuring the contour stays natural and dewy.
Finish with a light spritz of a Hydrating Setting Sprays to lock everything in place without flattening the skin.
8. Travel and storage tips for sponges and cream products
To keep sponges sanitary during travel, store them in a ventilated case; avoid sealing them damp. Organize cream sticks and palettes in a compact travel case so you can contour on the go with consistent results.
If you need a tidy place for brushes and sponges at home or when packing for a trip, look for compact options like Makeup Brush Organizers or a secure Travel Makeup Cases to protect your tools and products.
Quick checklist
- Clean, moisturized skin before application
- Choose a cream formula that matches your coverage goals
- Apply small amounts—dot or draw thin lines
- Dampen sponge slightly for a natural finish
- Press-and-bounce to blend; use the tip for precision
- Layer highlight with a cream highlighter sparingly
- Set lightly with powder and finish with a hydrating mist
- Store sponges dry and ventilated between uses
FAQ
- How damp should my sponge be? Slightly damp—squeeze out most water until the sponge is bouncy; it should expand but not drip.
- Can I use a sponge with stick and palette formulas? Yes. Use the sponge to soften stick lines and to press-blend cream from palettes for a skin-like finish.
- How often should I clean my sponge? Clean weekly if used often; deep clean immediately if used on broken or irritated skin.
- Do I need a brush at all? Brushes help with precise application and layering; a small brush plus a sponge gives the most control.
- Will a setting spray ruin the dewy finish? A hydrating setting spray preserves dewiness while locking makeup in place—use a light mist.
Conclusion
Using a makeup sponge for cream contour gives you a balance of control and softness—apply sparingly, blend with press-and-bounce motions, and finish with a light set for long-lasting, natural definition. Practice the placement and pressure until you find the exact look you want.