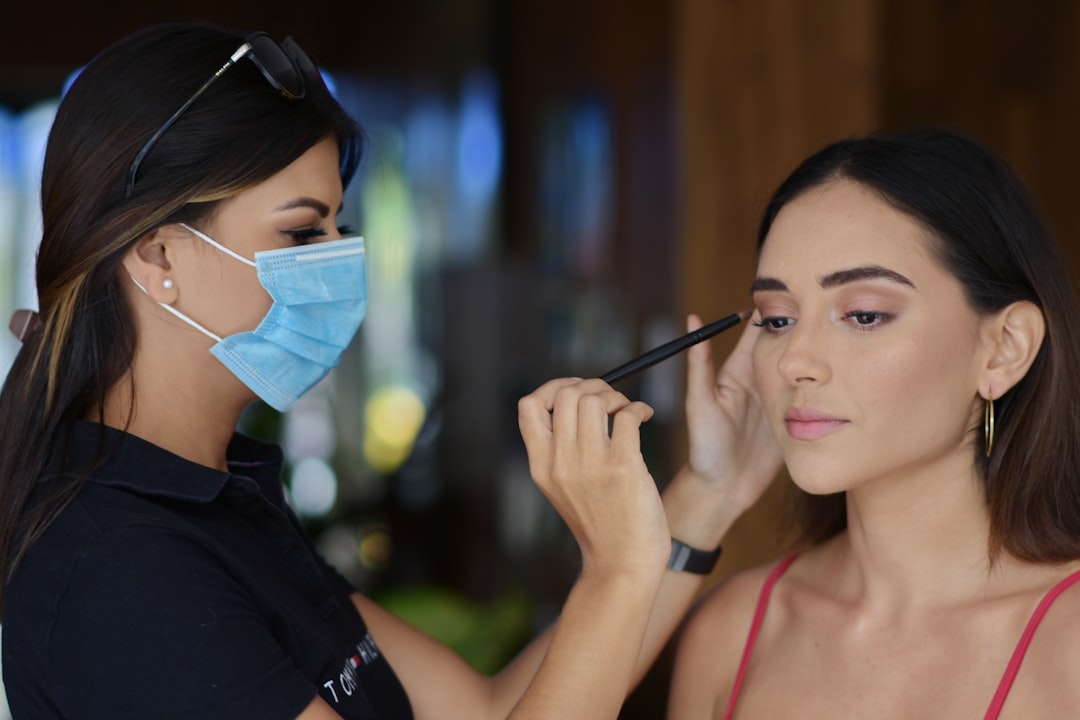
Contouring is less about dramatic sculpting and more about subtle shaping that enhances your natural bone structure. When done correctly, contouring can bring balance to the face, define features softly, and create a refreshed, polished look without obvious makeup lines.
If you’re starting out, choose a simple kit that pairs contour and highlight products and focuses on blendability — look for compact starter sets designed to teach placement and finish. The goal is a believable shadow-and-light effect that reads as dimension, not paint.
Why subtle contouring matters
Natural-looking contouring follows light and shadow rather than creating new shapes. Subtlety prevents heavy lines and keeps skin texture visible, which is especially important in daylight and for everyday wear. A soft contour complements foundation and concealer rather than fighting them, so prepping and matching undertones are essential.
Cheeks — hollows and apples
Target the hollows just below the cheekbone for a lifted, slimmer appearance. To find the right spot, make a gentle fish face and apply a narrow band of product from the ear toward the corner of the mouth, stopping midway. Blend upward toward the temple to avoid a downward drag.
For natural results choose colors only one to two shades darker than your skin and work with a product type that suits your skin and speed: beginners often prefer contour palettes that include both contour and a lighter sculpting shade for subtle transitions.
Jawline and chin
Define the jaw by applying contour directly under the jawline, from near the ear toward the chin, and blend downwards to remove shadows. For softening a rounded chin, add a touch of contour to the center of the chin and blend into the jawline — keep it narrow to avoid heaviness.
Cream products work well along the jaw because they blend seamlessly into skin for a skin-like finish; consider using cream contour sticks for thin, diffused lines that you can soften with a damp sponge or brush.
Nose — small, natural adjustments
Nose contouring is about creating the illusion of shape, not reshaping it. Use two thin lines placed along the sides of the bridge and blend carefully toward the center; a tiny shadow at the tip can visually shorten a long nose. Keep product application light and precise to avoid a harsh, obvious look.
For precise, controlled application try easy-blend contour sticks — they allow narrow placement and quick confidence-building blending for first-timers.
Forehead and hairline
Contouring the forehead helps balance proportions, especially if the forehead appears broad. Apply contour along the hairline and blend inward to reduce width without creating a band of darkness. On rounder faces, add warmth at the temples to add angularity.
When working with powder finishes for the forehead, lighter application and feathering are critical. If you prefer powdered texture, choose a powder contour palette so you can control intensity and layer subtly.
Under-eye area and temples
Natural contouring around the eyes focuses on removing puffiness and reinforcing the cheek shadow rather than darkening the area. Instead of a deep contour under the eye, use a soft wash at the inner corner of the temple and blend toward the cheek hollow to create a lifted appearance.
Prepping the under-eye with a lightweight primer and proper setting products prevents powder clinging to fine lines and keeps blended contours from settling; use a dedicated face primer to smooth the area before you start.
Best tools and products for natural contouring
Tools shape the finish as much as product choice. A dense angled brush is great for cheek hollows; a small tapered brush works for the nose; and a fluffy brush helps diffuse the hairline. If you’re building a kit, pick a curated set so tools are matched by purpose — consider a beginner contour brush set to get the right shapes without guesswork.
For product types: powder palettes are forgiving and easy to soften, cream sticks give a skin-like finish especially on dry or mature skin, and hybrid starter kits that combine both let you practice layering. If you plan to travel or keep things simple, a compact kit with a few essentials will deliver most everyday looks.
Quick checklist
- Prep skin: moisturizer and a light primer to smooth texture.
- Choose shade: 1–2 shades darker than your skin for contour; 1 shade lighter for highlight.
- Placement map: hollows of cheeks, jawline, sides of nose, hairline/temples.
- Tool guide: dense angled brush for cheeks, small tapered brush for nose, fluffy brush to blend hairline.
- Practice: start with a beginner contour kit and build confidence with soft layers.
FAQ
How dark should my contour be?
Pick shades one to two shades darker than your skin with a similar undertone. Cooler tones read as shadow; warmer tones can look like bronzer.
Should I use cream or powder?
Both work. Creams blend naturally into hydrated skin and are great for targeted placement; powders are easy to diffuse and layer. Use powders if you prefer matte finishes or have oilier skin.
How do I avoid obvious lines?
Blend in short, soft strokes and always diffuse edges with a clean brush or sponge. Less product at first, then build slowly.
Where do I highlight for a natural effect?
Highlight sparingly: tops of cheekbones, bridge of the nose, brow bone, and cupid’s bow. Keep the finish close to skin — a subtle sheen reads as luminosity, not glitter.
Can I contour daily?
Yes — use sheer products and a light hand for daytime. Keep a simple travel-friendly selection if you’re on the go.
How do I match undertones?
Test products on your jawline in natural light. Neutral undertones are easiest to match; yellow or pink undertones may need slightly warmer or cooler contour shades respectively.
Practice and observation are the fastest routes to a believable contour. Start light, blend thoroughly, and refine placement to suit your unique bone structure.
Practical takeaway: focus on a few face areas — cheek hollows, jawline, nose, and hairline — use products suited to your skin type, and blend until shadows look like natural depth rather than makeup. With the right small kit and tools you can create a consistently natural, polished look.